https://ubuntu.com/tutorials/how-to-run-ubuntu-desktop-on-a-virtual-machine-using-virtualbox
How to run an Ubuntu Desktop virtual machine using VirtualBox 7
- Create a new virtual machine
- Install your image
- Explore Virtual Box
- Troubleshooting
Download an Ubuntu Image
https://www.linux.org/pages/download/
Choose any image that you want to download.
To download 'Ubuntu', click 'Download Ubuntu' under the Ubuntu image, and click 'Download Ubuntu Desktop'
Download and install VirtualBox
https://www.virtualbox.org/wiki/Downloads
If you are using Windows, click 'Windows hosts' under the VirtualBox 7.0.14 platform pakages.
Then, run VirtualBox
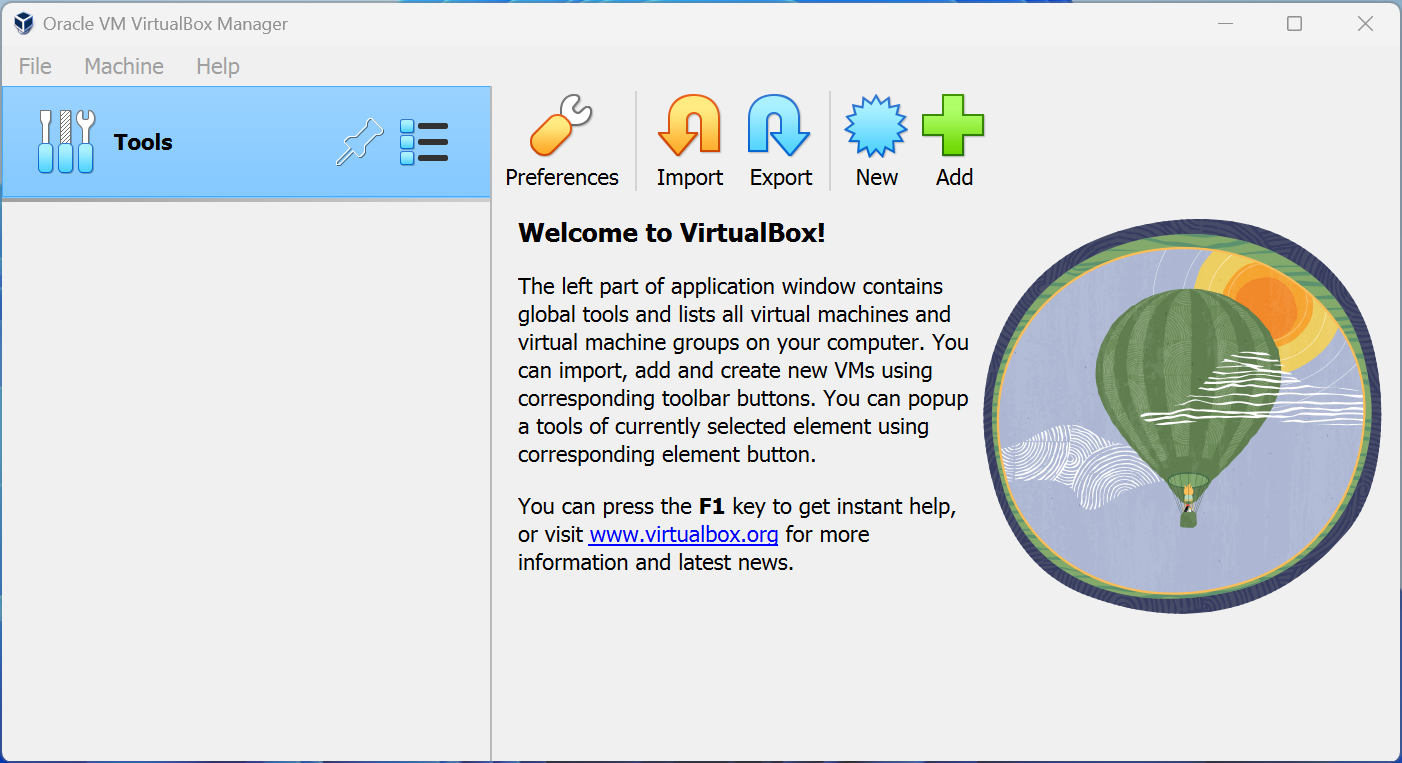
Create a new virtual machine
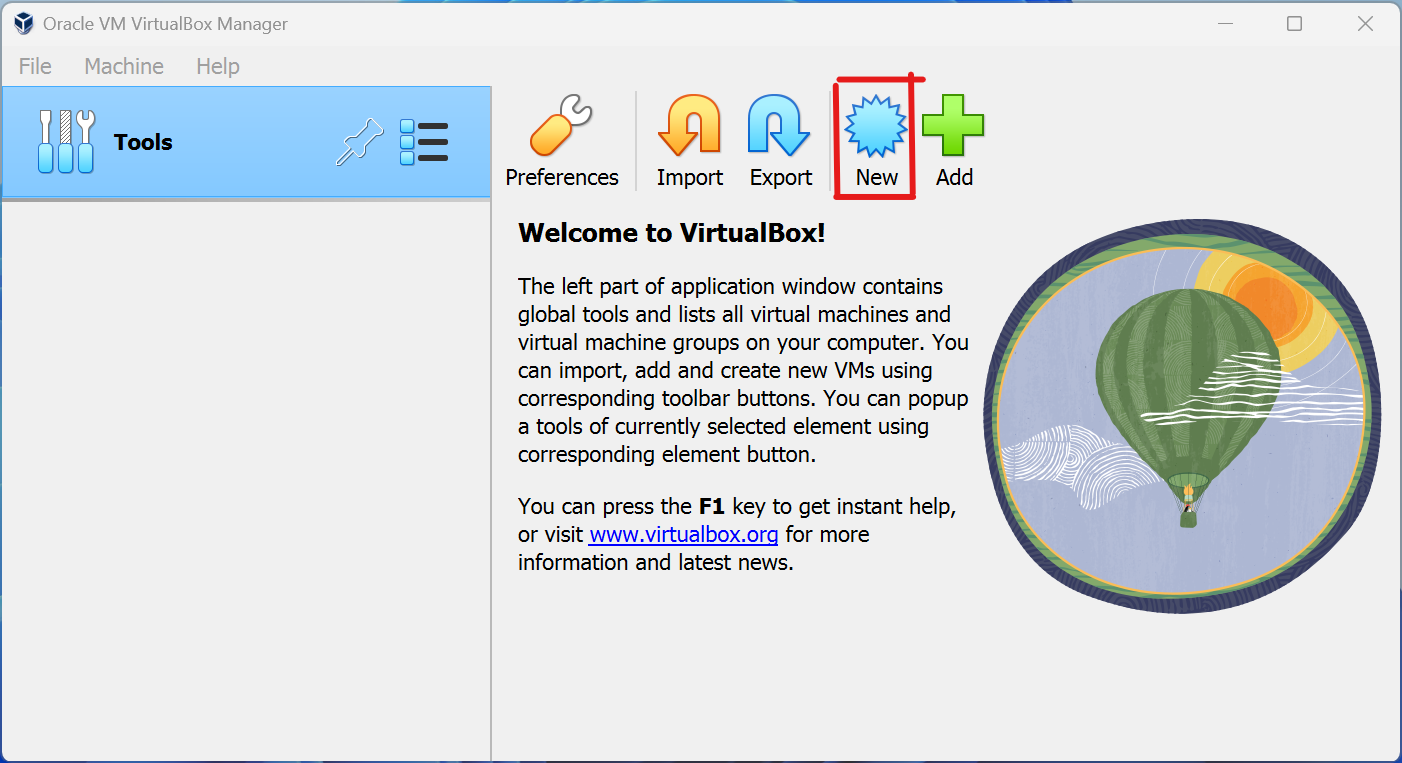
Click 'New' to create a new virtual machine.
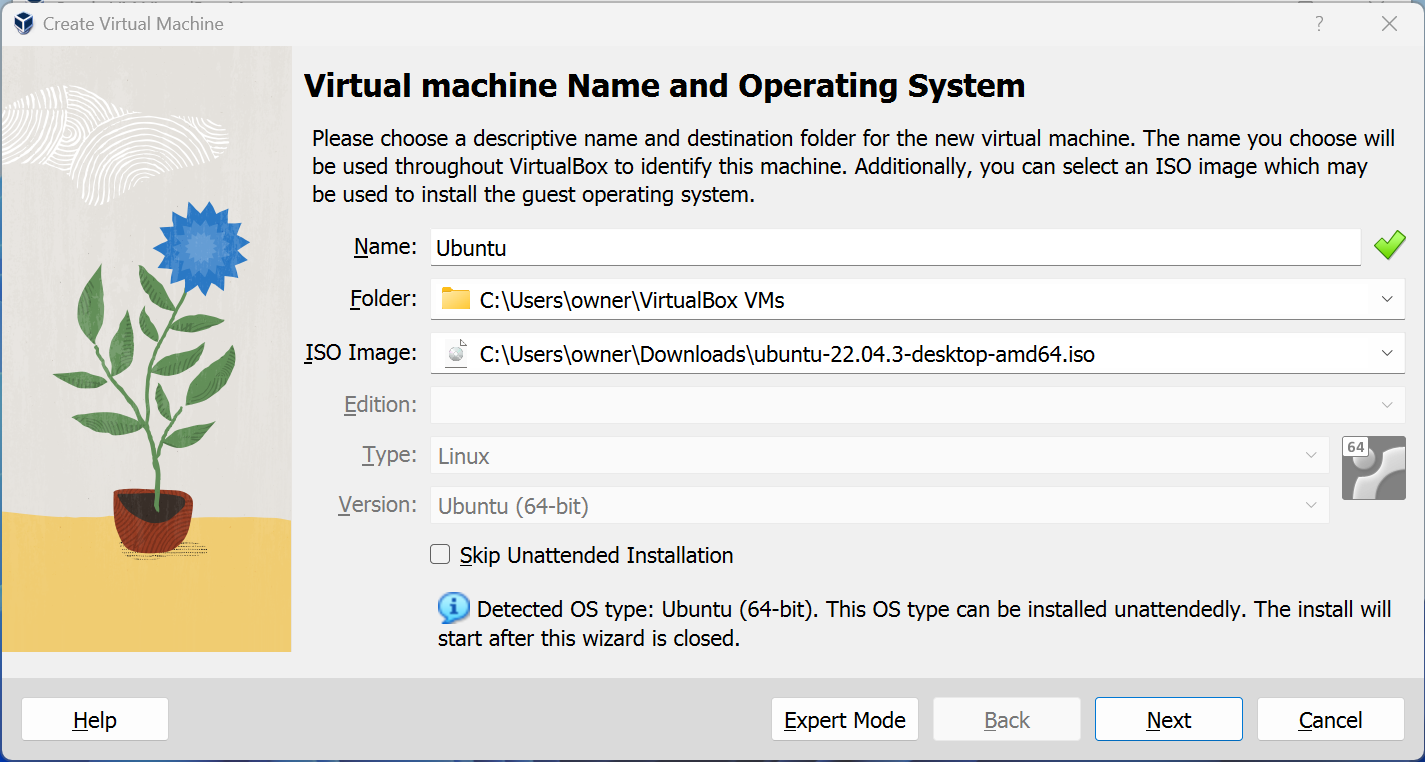
Fill in the appropriate details:
- Name: Your virtual machine's name
- Machine Folder: The pathway where your virual machines will be stored so you can resume working on them whenevr you like.
- ISO Image: The file you dowloaded from the Ubuntu website
Create a user profile
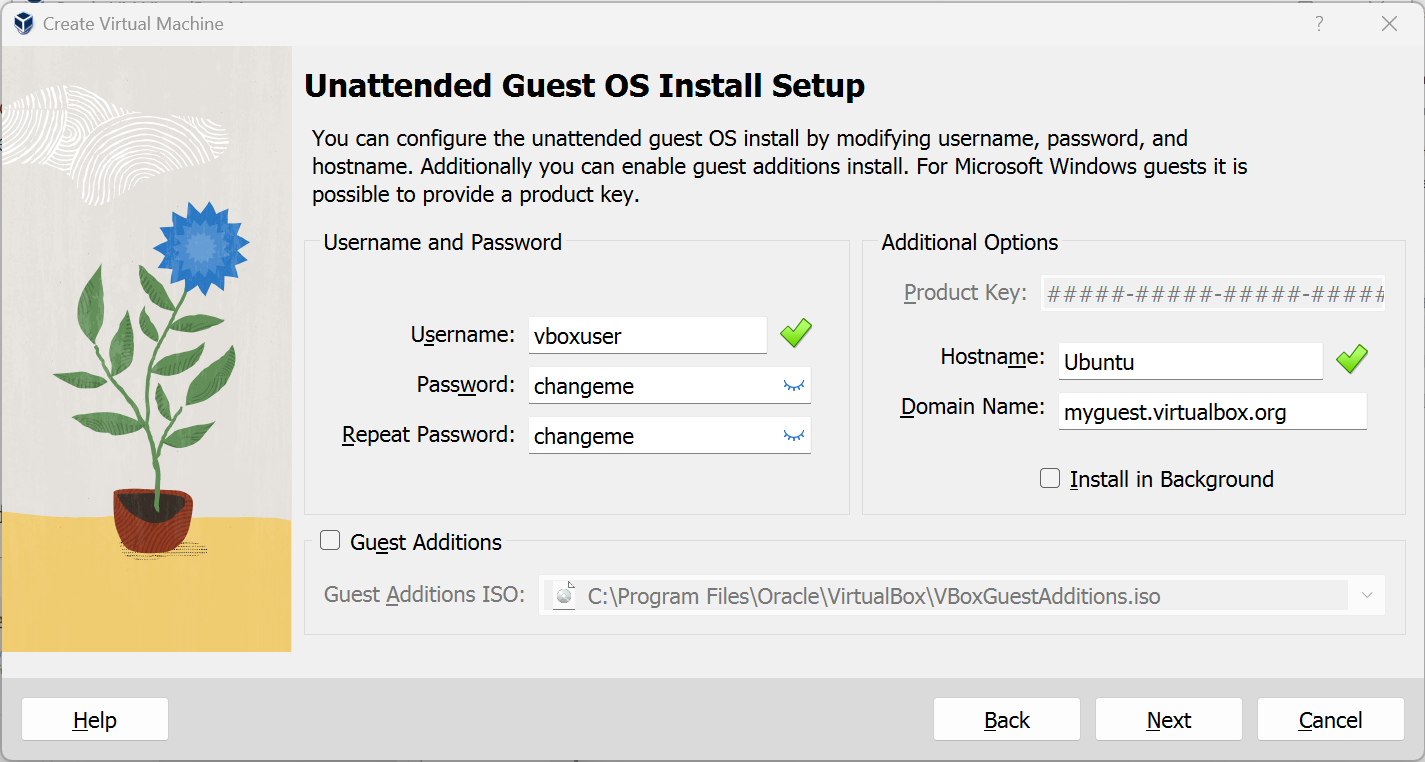
To run the automatic install we need to prepopulate our username and password in addition to our machine name so that it can be configured automatically during First boot.
The default credentials are:
- Username: vboxuser
- Password: changeme
It is important to change these values since the defaults will create a user without sudo access
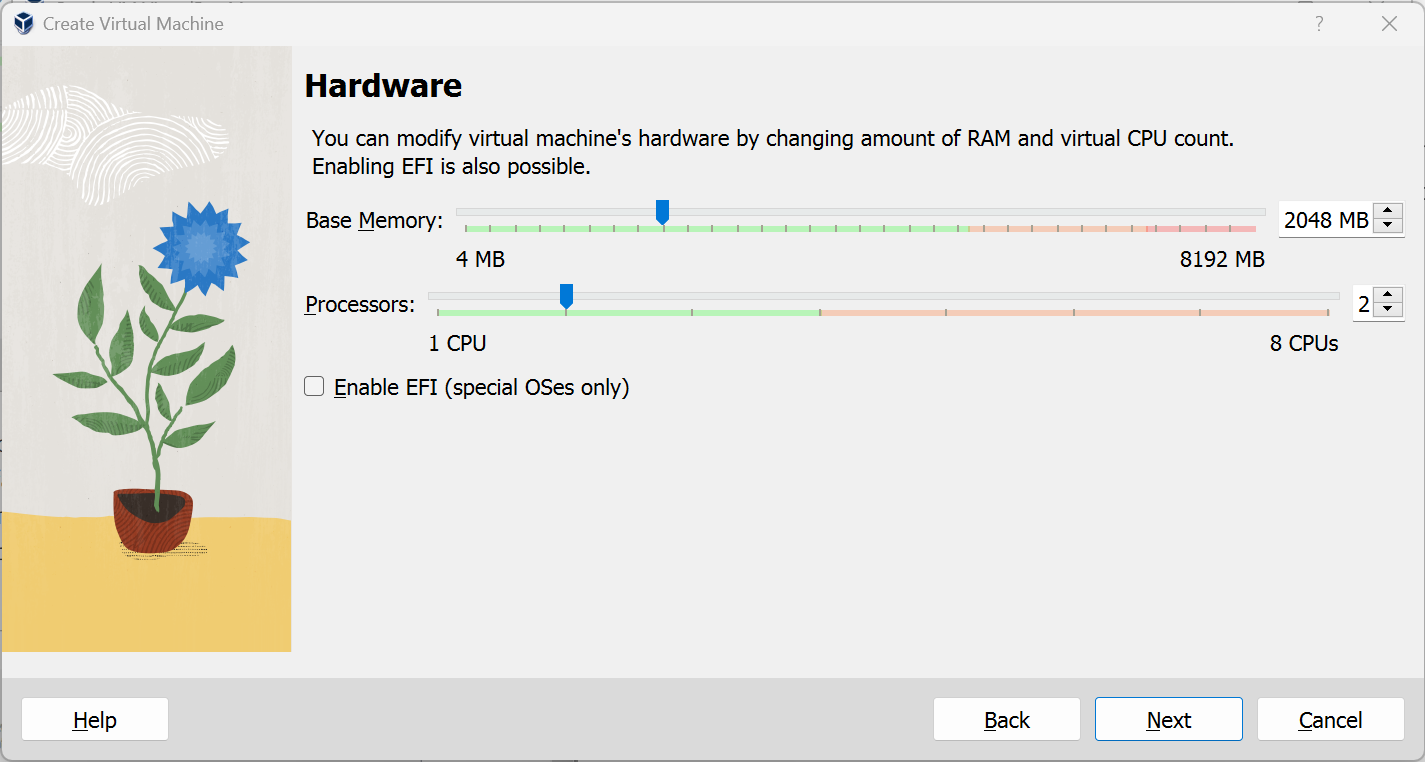
Define the Virtual Machine's resources
We can specify how much of our host machine's memory and processors the virtual machine.
Recommand values are with around 8 GB of RAM (althought 4GB will still be usable) and 4 CPUs.
Then we specify the size of the hard disc for the virtual machine. For Ubuntu we recommend around 25 GB as a minimum. If you want to pre-allocate the full amount, check the 'Pro-allocate Full Size' check box. This will improve performane but might take up unnecessary space.
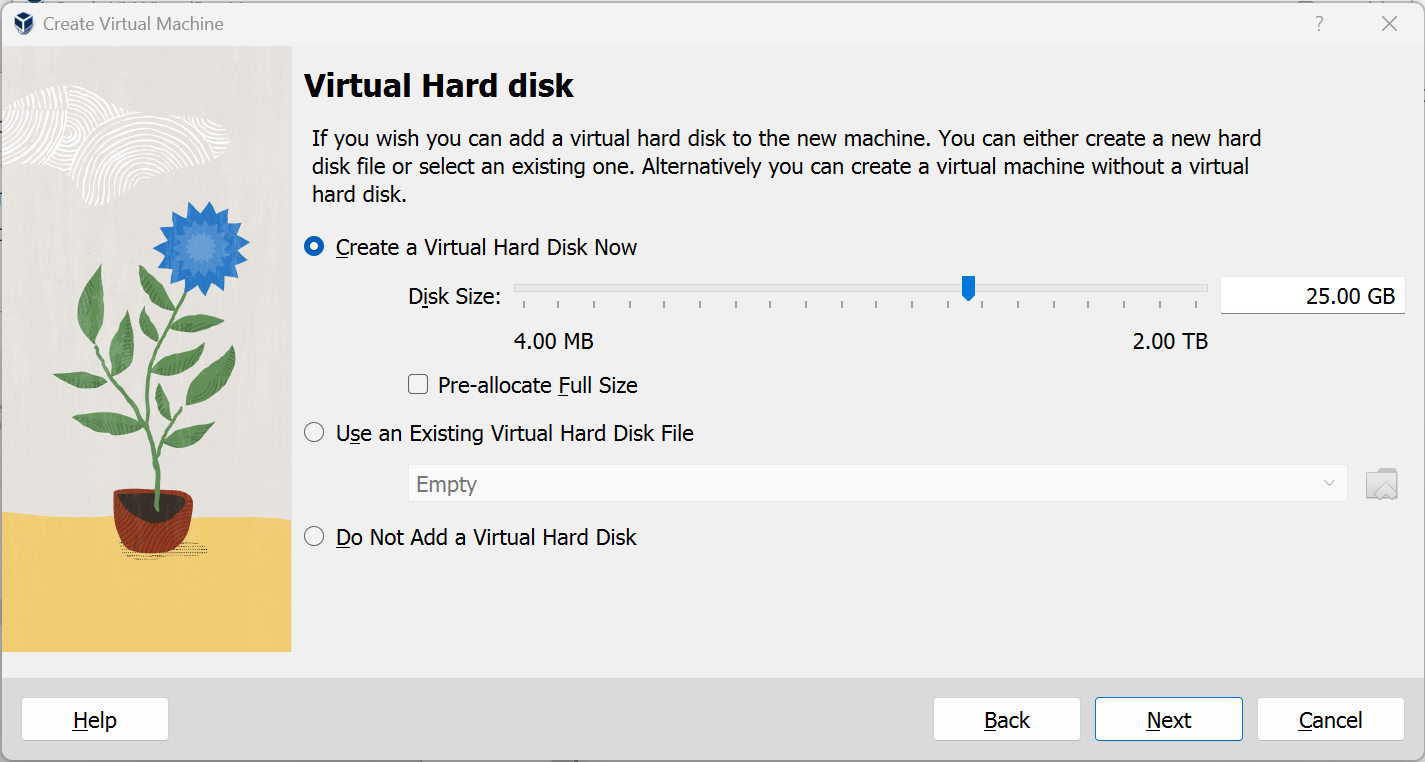
Click 'Next' to continue and view a summary of your machine setting.
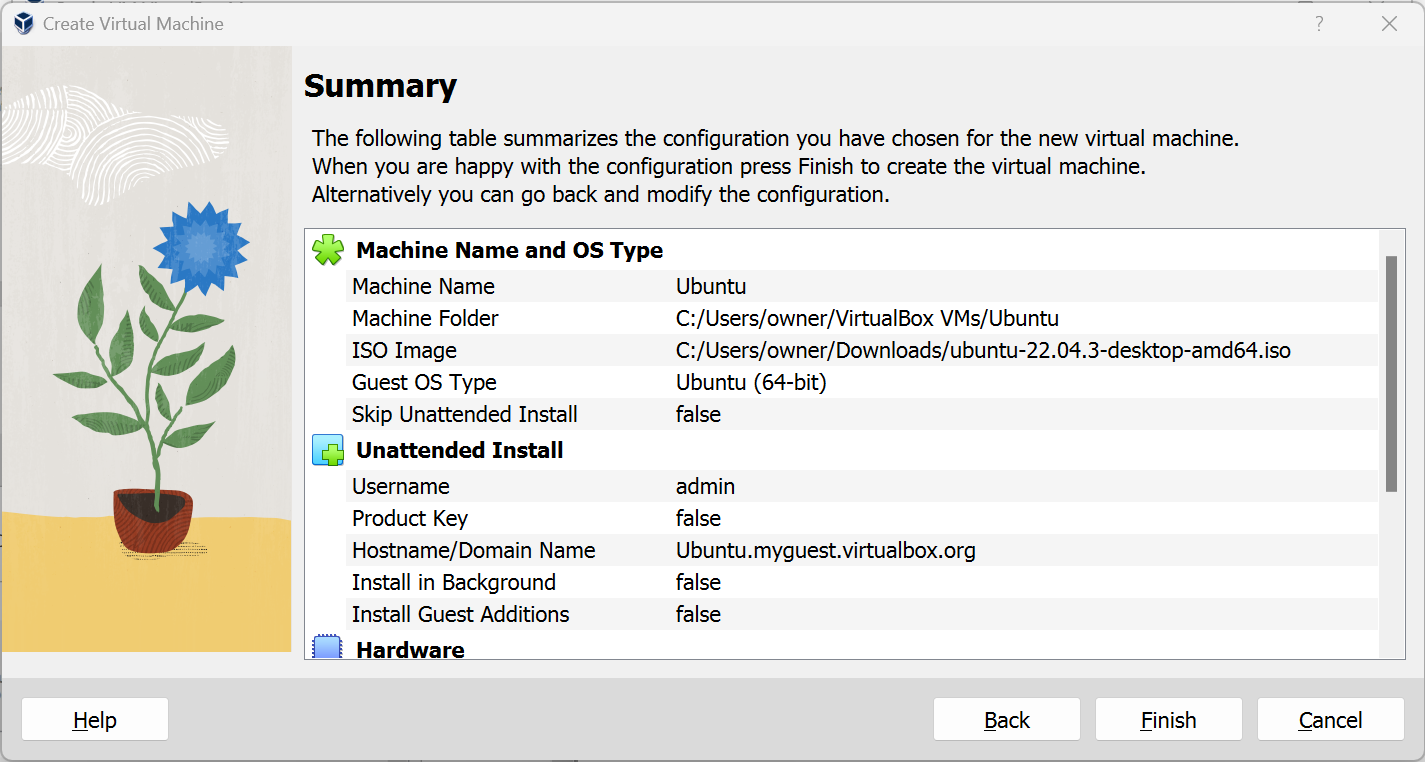
After this click 'Finish' to initialize the machine.
Install your image
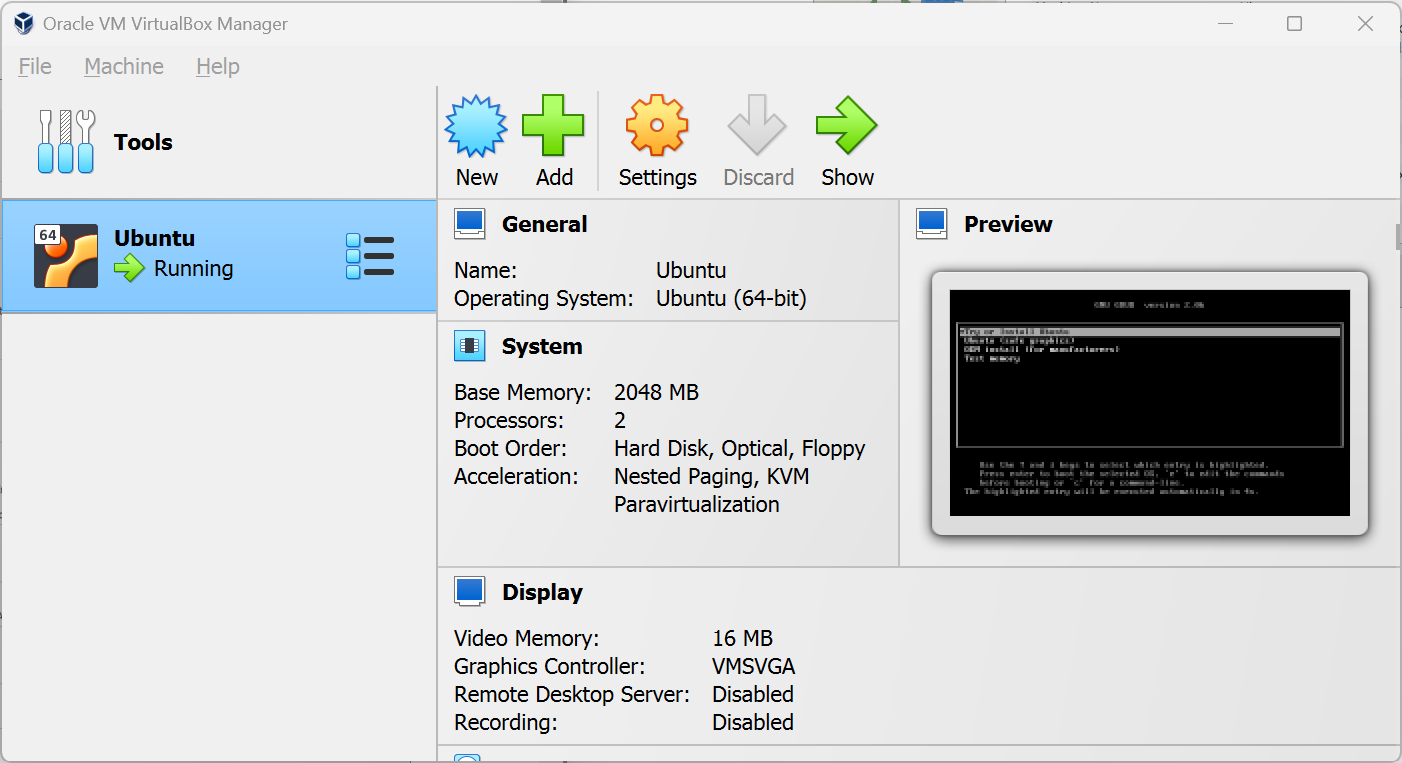
A message saying 'Powering VM up...' will be shown, and your desktop window will appear.
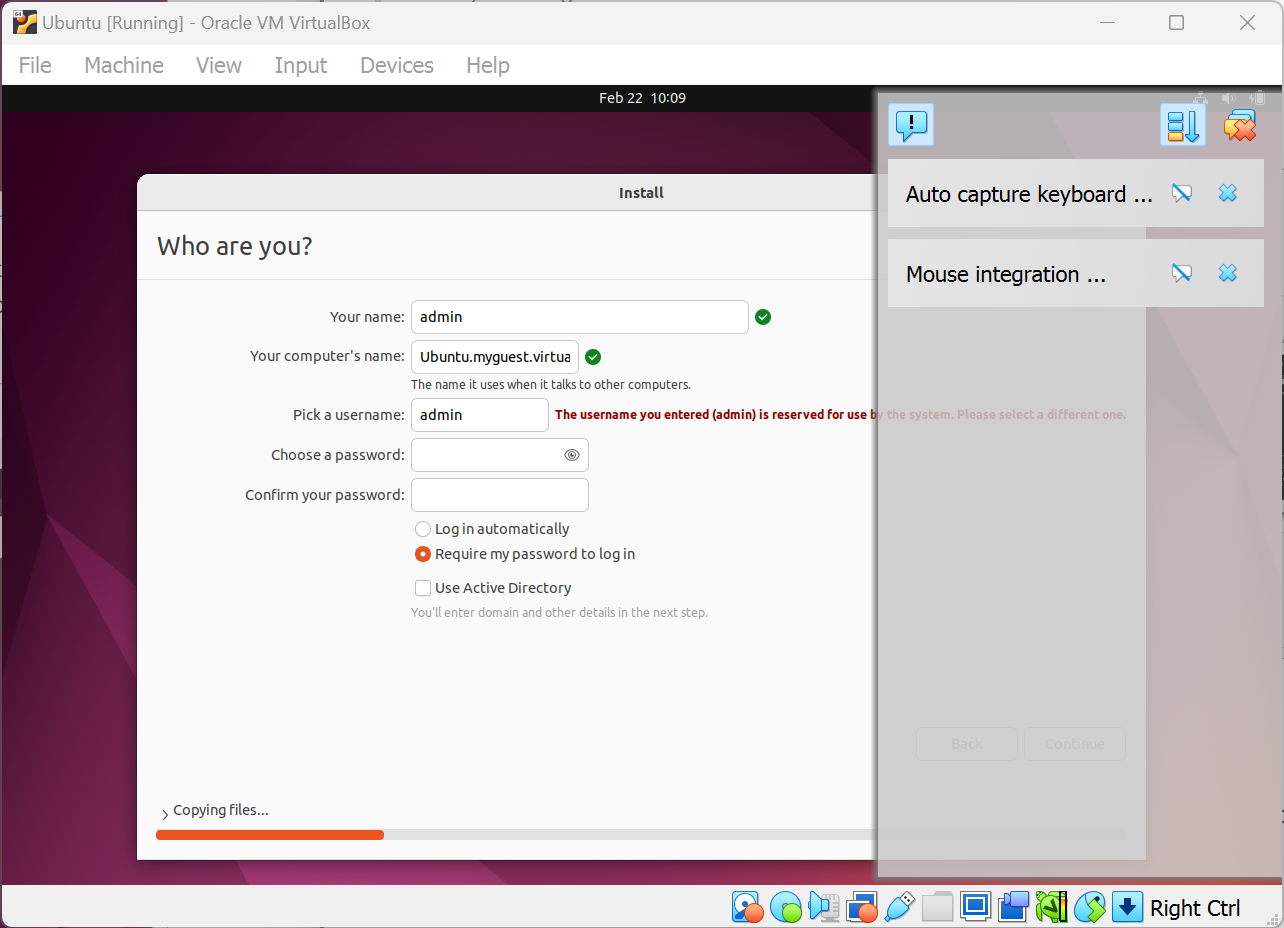
Set up the username and password.
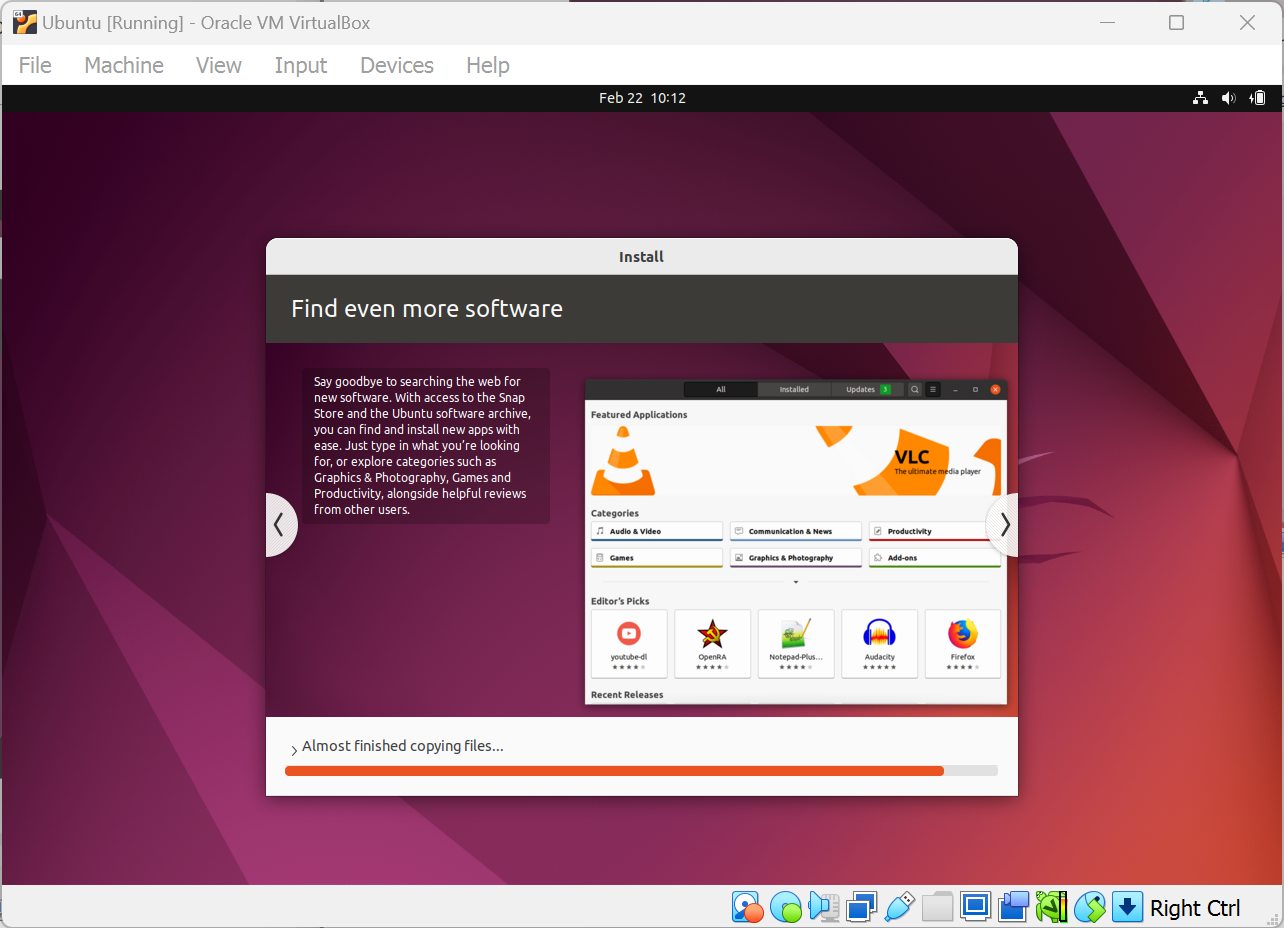
Once the installation completes, the machine will automatically reboot to complete the installation.
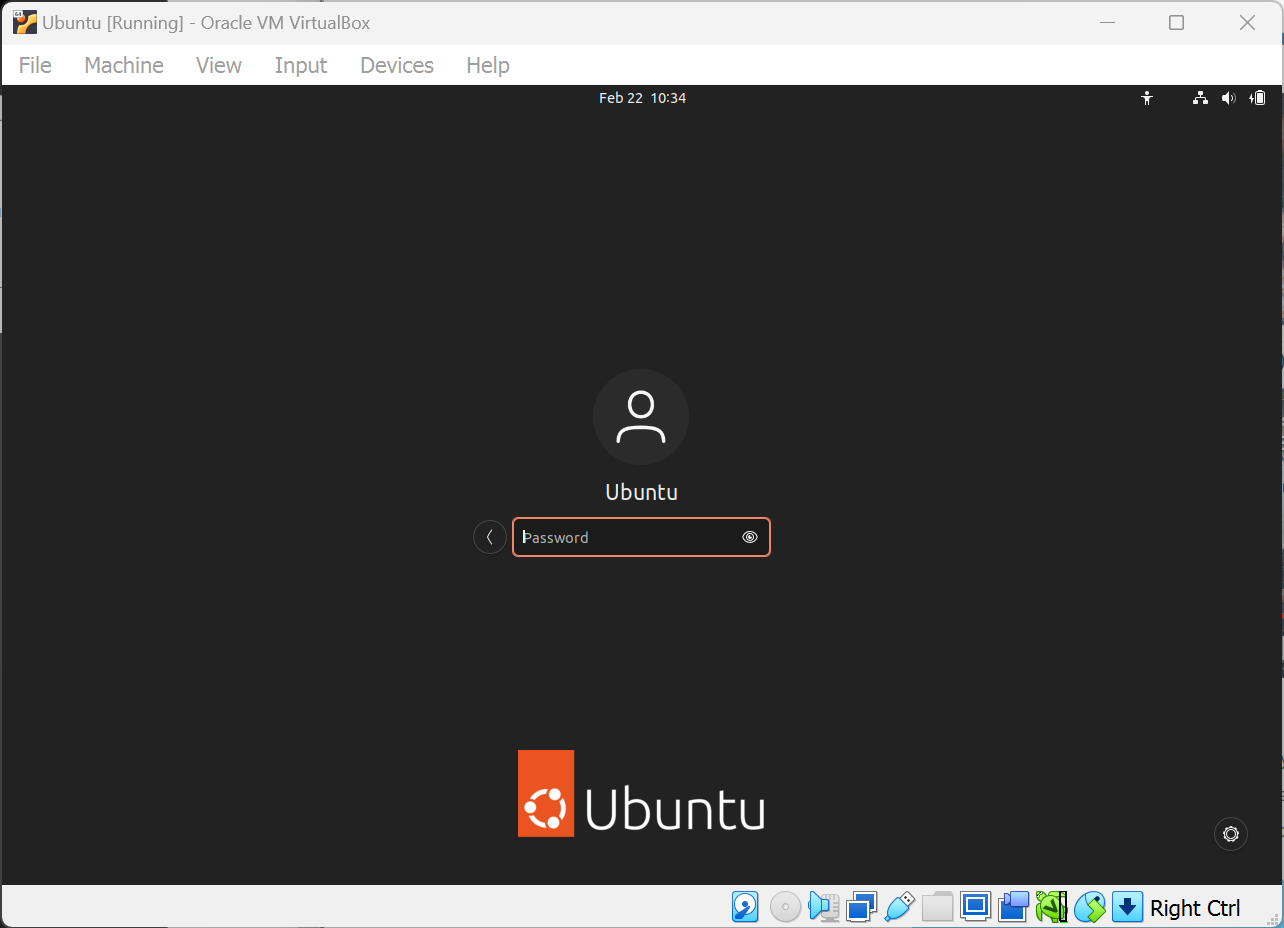
Finally you are able to see the Ubuntu log-in screen.
Explore Virtual Box
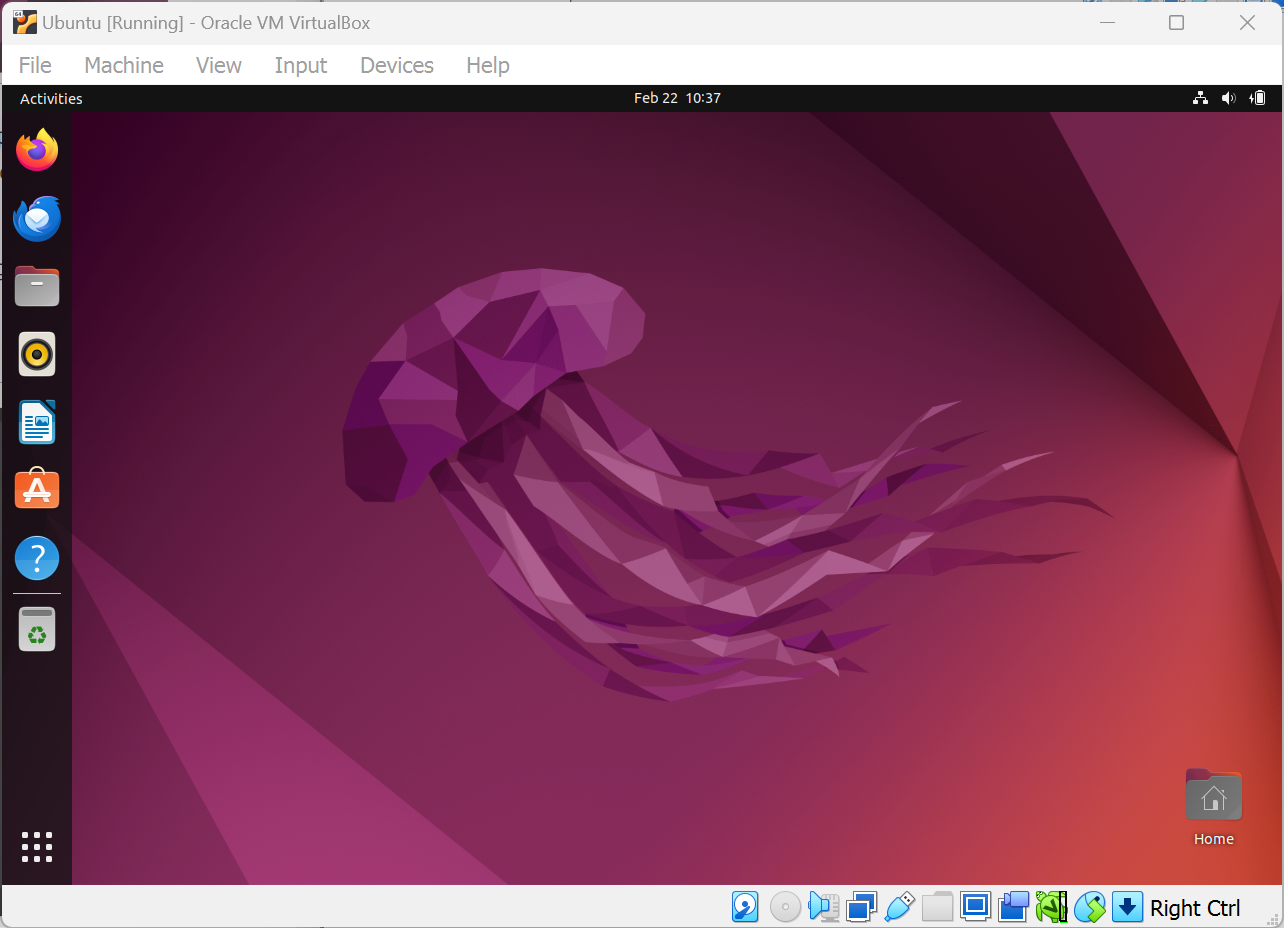
Now we can see our Ubuntu Desktop.
To get everything updated to the latest versions uses these command:
sudo apt update && sudo apt upgrade
sudo nap refresh
Troubleshooting
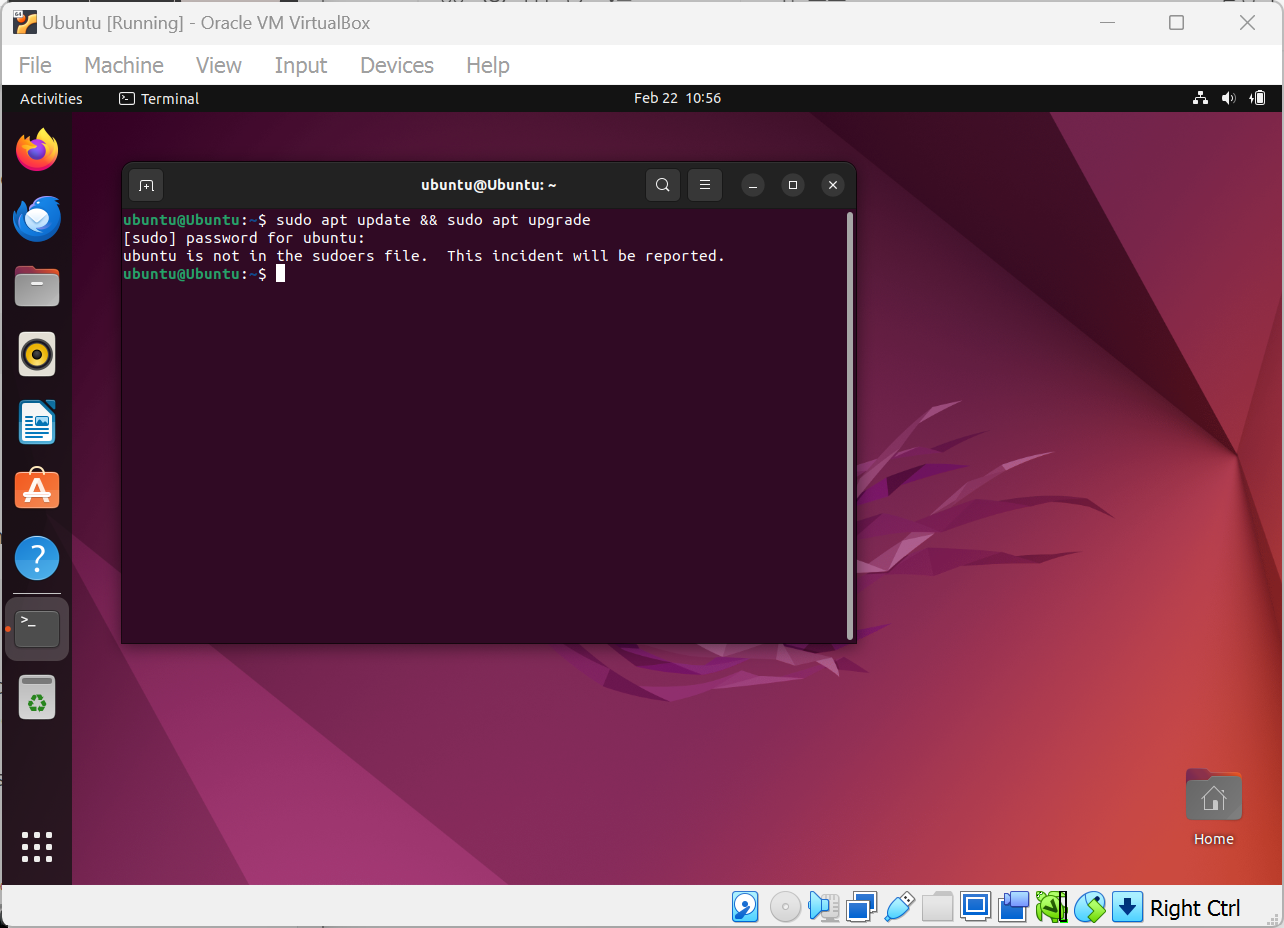
To update and upgrade Ubuntu, I typed 'sudo apt update && sudo apt upgrade'
But it said '___ is not in the sudoers file. The incident will be reported.'
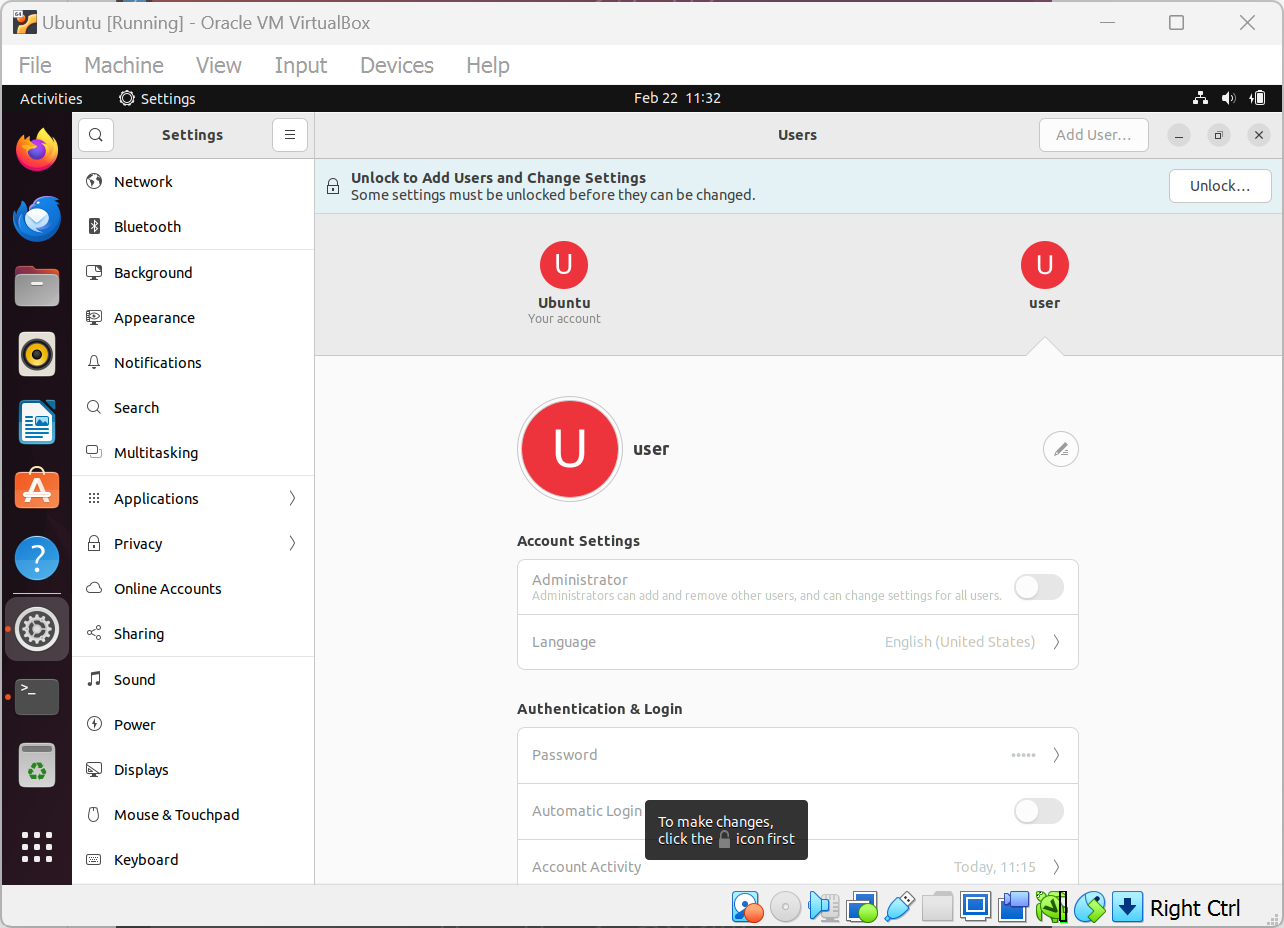
So, I made new user profile and switch user to new one.
But it didn't work.
I came back to administrator user (name: Ubuntu) and searched up the solution.
And I can get a solution from here.
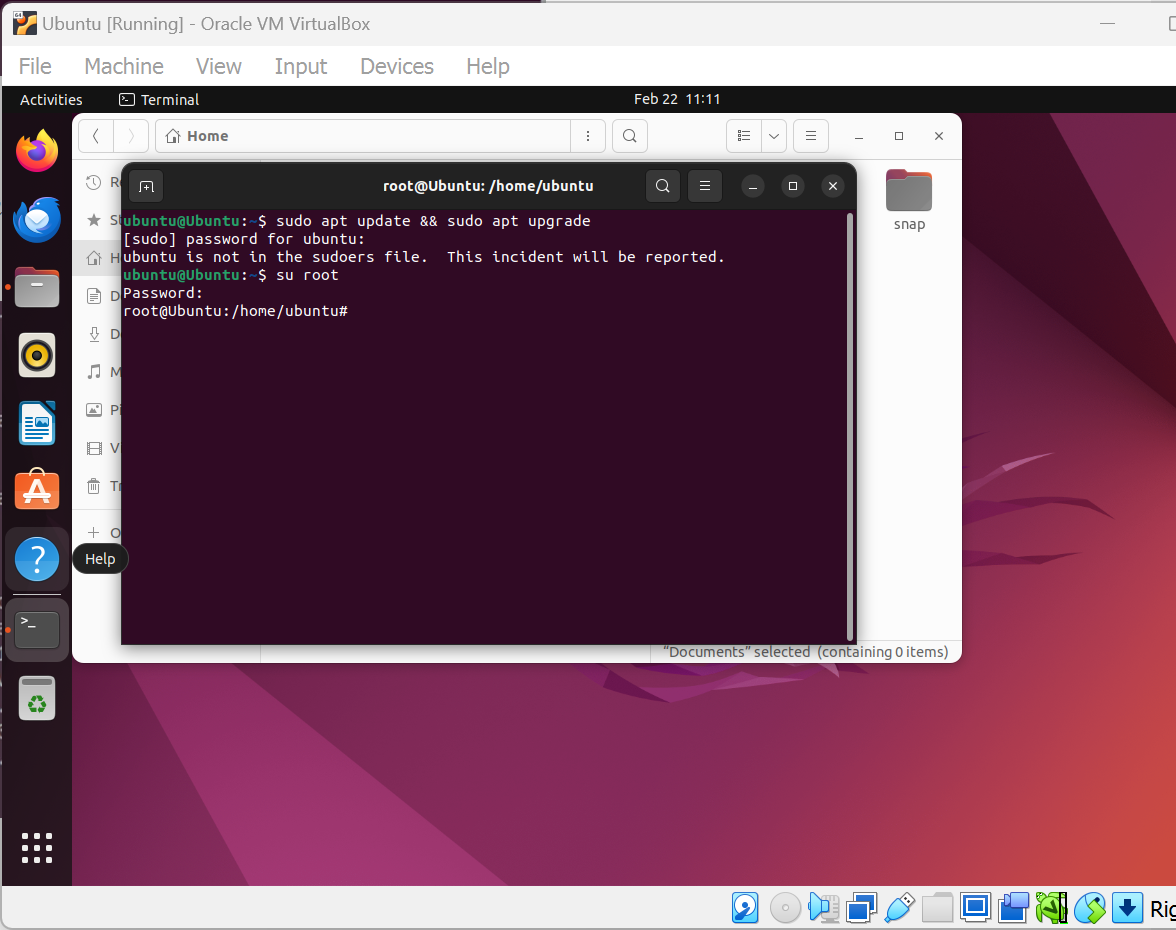
Shortly, type
su root
in your cmd on administrator.
Then you can see the ubuntu@Ubuntu is changed to root@Ubuntu: /home/ubuntu
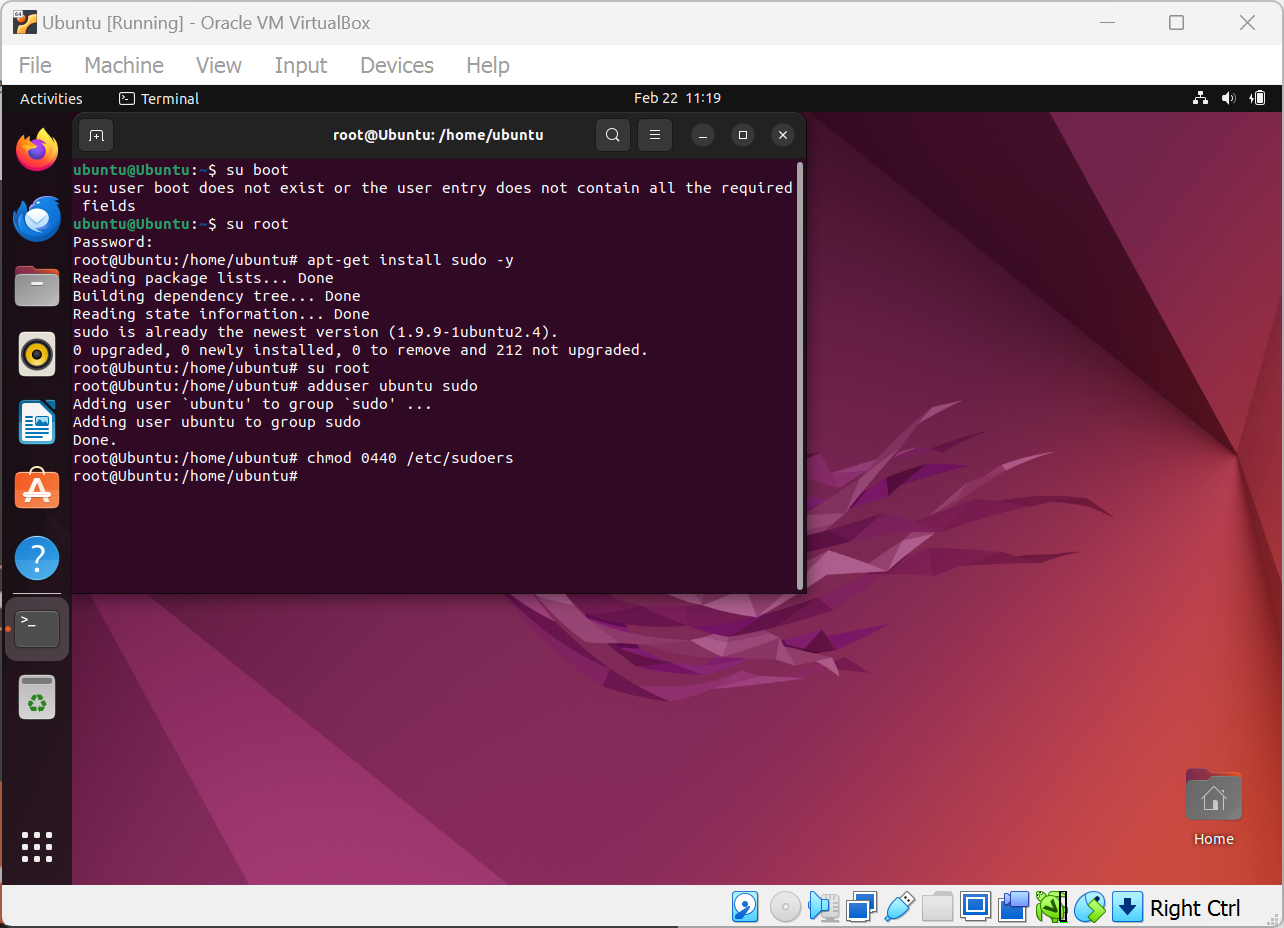
Install sudo package using
apt-get install sudo -y
add ubuntu to sudo group
adduser ubuntu sudo
Change permissions of /etc/sudoers
chmod 0440 /etc/sudoers
And the reboot the machine using command reboot or manually.
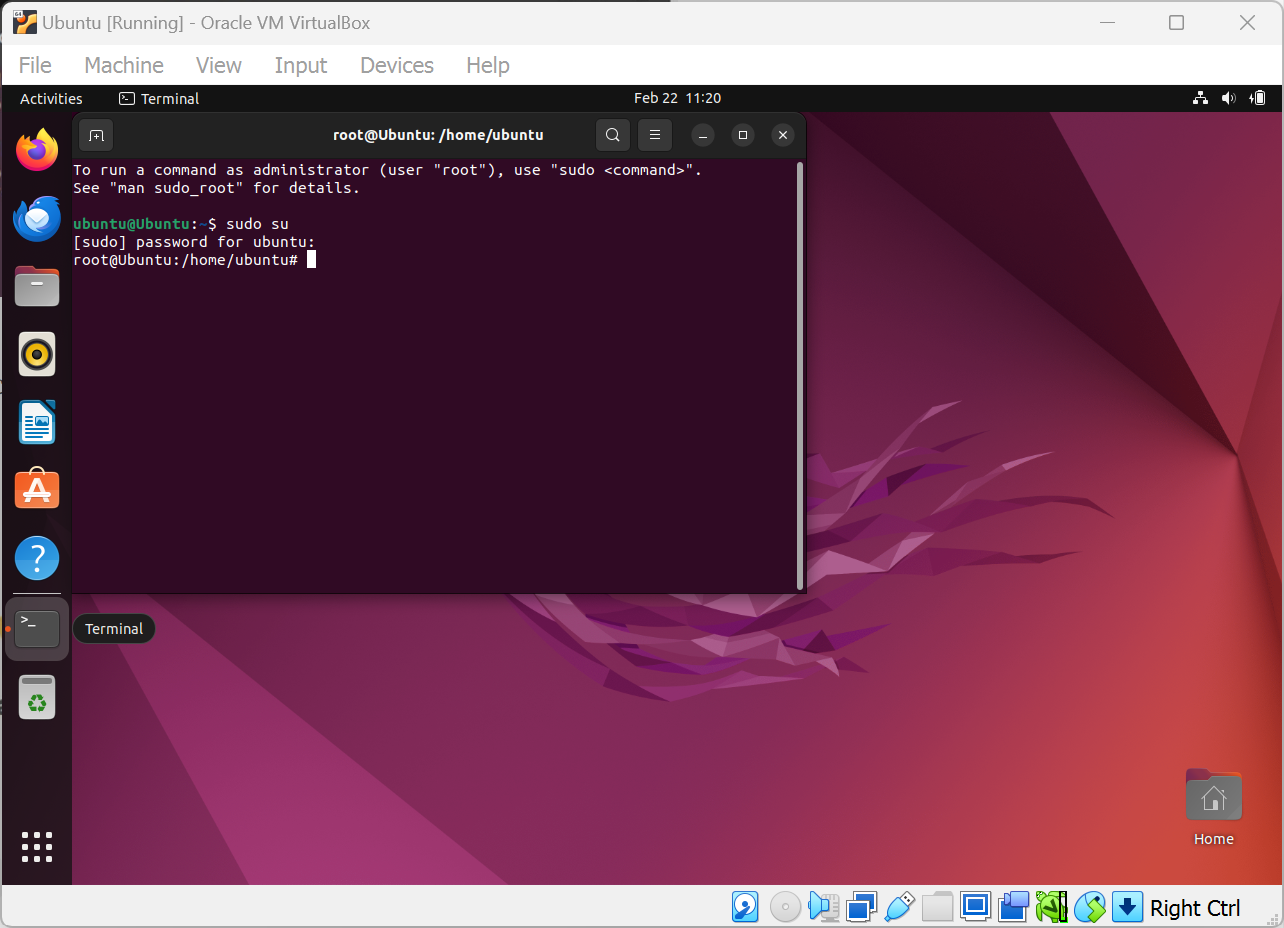
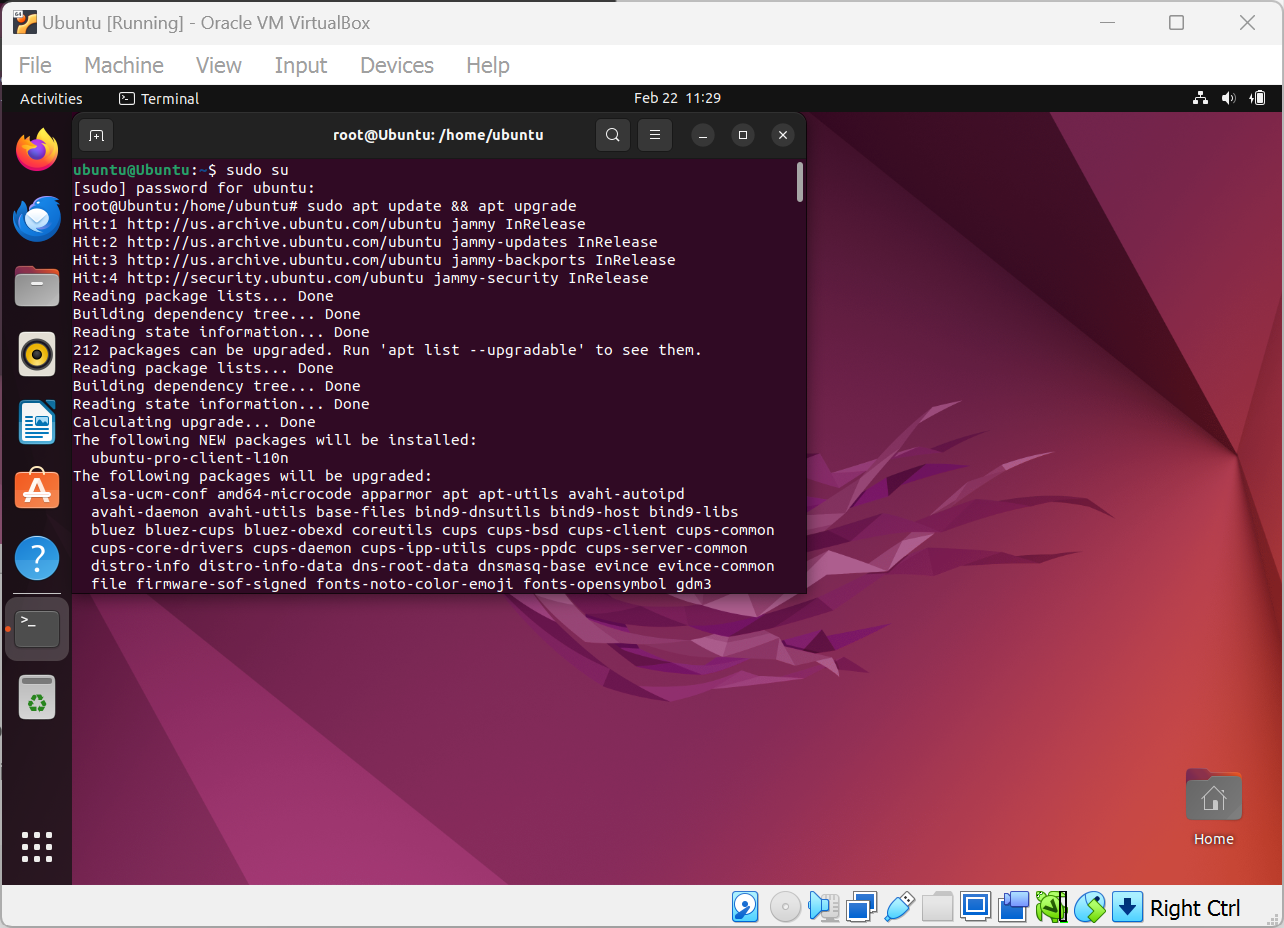
Try to login as root user using sudo su command.
And type
sudo apt update && apt upgrade
in the root@Ubuntu: /home/ubuntu.
Successfully work!
'Computer > Linux' 카테고리의 다른 글
| How to download and install Linux (0) | 2024.02.13 |
|---|
